- Photo Advice
- How to print photos from your phone
- Required Photo Quality
- Correct Format For Photos
- Print Quality Of Your Photos
- Advice For Your Baby Photos
- Wedding Thank You Card Photo Ideas
- Save the Date Photo Ideas
- Christmas Card Photo Ideas
- How to print black and white photos
- How to enlarge photos for printing
- How to print baby photos
- How to scan old photos for printing
- Winter Landscape Photography Tips
- Organising your photos
- Wedding Photo Ideas
Save the Date Photo Ideas
Your save the date cards are the first thing to tick off your wedding checklist and are your guests’ first glimpse of your big day. As well as serving the more practical purpose of letting your guests know the date and location of your wedding, your save the date cards are also a chance to hint at the delights that your wedding has in store. Photo save the dates are a great way to get across your excitement about your engagement and are an easy way to inject personality and originality into your wedding stationery. Choosing a memorable photo is the easiest way to make your save the date cards stand out from the crowd so here are a few save the date photo ideas to get you started.
Flash your ring
Now that you finally have a ring on your finger we are sure that you can’t wait to show it off! Select a close-up photo of the two of you, managing to sneak in your left hand! Keep it subtle resting your hand on your partner's arm or shoulder to leave the ring visible or show off how happy and excited you are with a cheesy pic pointing your ring out for the world to see!
Spell out the date
Seeing as the main purpose of a save the date card is to share your wedding date, try incorporating into your photo in a fun way.
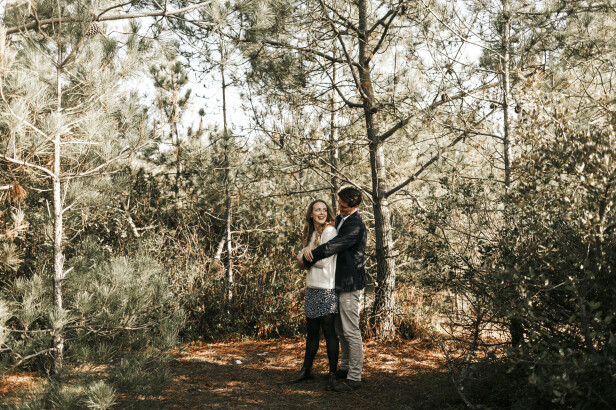
Use nature as your canvas by marking your date out into the sand, writing it in the snow or scribbling it on some autumn leaves. These images may just hint at your wedding theme or venue. Include a photo in a forest setting if you are planning a rustic wedding or use a beach photo to hint at your exotic destination wedding!
A fun touch is to literally spell your save the date message with Scrabble letters or numbered tiles from your favourite board game. The options are endless and we have seen customers write out their date on everything from balloons to the soles of their shoes.
Include your hobbies and interests
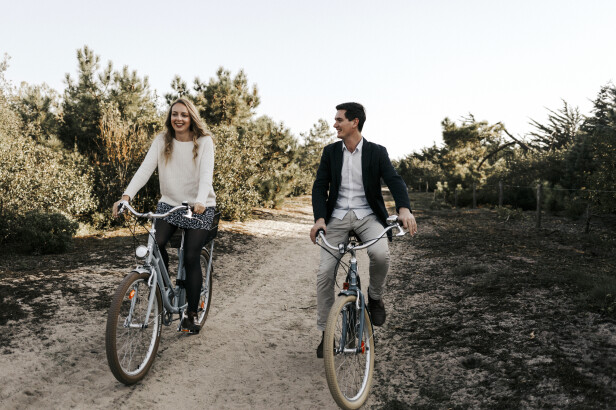
Give your loved ones a glimpse of your personalities and your life as a couple, by incorporating a hobby or activity that you both love. Take romantic shots of you both bike or horse riding if this is something that you do regularly together or include reference to your shared interests in specific music, films or sports.


Use banners or signs
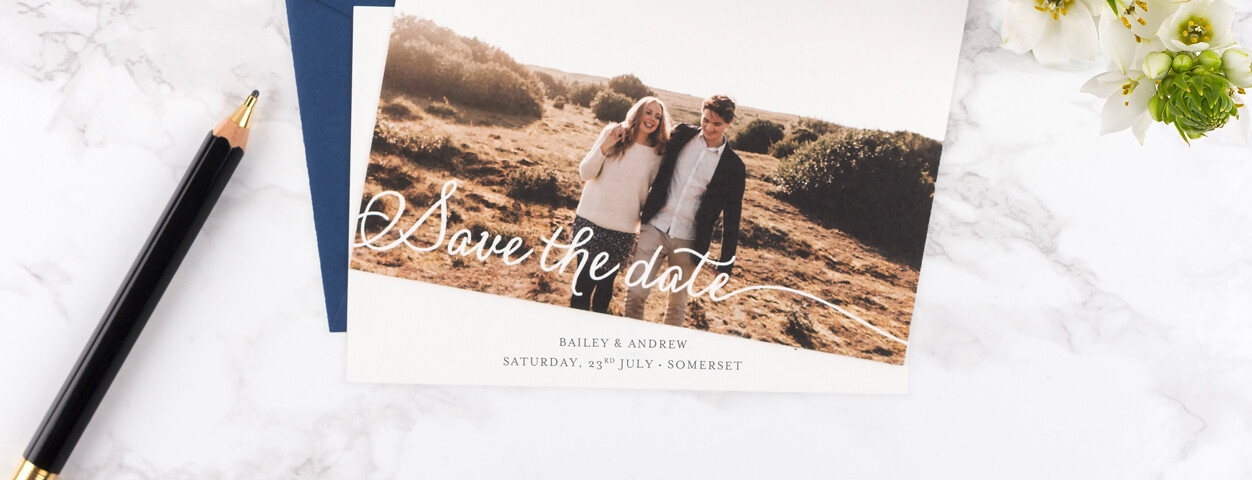
Featuring a banner or a sign in save the date photos is a popular choice amongst engaged couples. You can display the words save the date or the date of your big day. Each of you can hold the banner in the save the date photo or you incorporate it into the fore- or background of your photo to make things look a little less staged.
You can also get creative with chalkboard signs with an original save the date phrase or comments relating to each other. Incorporating humour into your save the date photos will set the tone for a fun and relaxed wedding day!
Get your pets involved
Your friends and family will love seeing you both so happy in your save the date photos, so imagine how adorable your photos will be if you also include your pets! Nobody can resist a cute dog, so if you have opted for the sign save the date ideas, you can even hang a little sign around your dog's neck to make him or her part of your exciting announcement!
Use your engagement photos
Many wedding photographers will propose an engagement or pre-wedding photo shoot so that you can scope out some locations and see how you both work together in front of a camera. Such a photo shoot will give you a series of romantic snaps walking hand in hand or gazing into each other’s eyes. Share your favourite engagement photos on your save the date cards, choosing the orientation of your cards to suit your photos
Choosing the right save the date photo
Once you have your save the date photo ideas all ironed out, there are a few things you should bear in mind to ensure that your photo will be of a high-quality print.
- Avoid using photos taken on your mobile phone, as these may have small defects when printed.
- Use photos with a resolution of over 300 dpi. All digital cameras take photos with a resolution of over 300 dpi, which will ensure a sharp, clean image.
- Upload photos directly from your camera memory card. It is best to use photos uploaded directly from your camera memory card, not the versions of your photos saved on social media. Social media platforms reduce the file size of your photos to be able to display them quickly online, meaning that the quality is compromised.
- Upload original photos without filters. Whilst you may wish to add a photo with your favourite Instagram filter, our graphic designers retouch your photos as required to optimise them for printing, and often the addition of filters to your photo can compromise the quality of the image. You can add effects to your photo using our photo editing tools, with the option to put your image in black and white or sepia.
- Take your photos in good natural light to ensure that the details will stand out enough in print and that your photo is not blurry. Use photos that were taken outside or by a window, ensuring that the sun is not shining directly on your faces as this can result in overexposure.
