- Photo Advice
- How to print photos from your phone
- Required Photo Quality
- Correct Format For Photos
- Print Quality Of Your Photos
- Advice For Your Baby Photos
- Wedding Thank You Card Photo Ideas
- Save the Date Photo Ideas
- Christmas Card Photo Ideas
- How to print black and white photos
- How to enlarge photos for printing
- How to print baby photos
- How to scan old photos for printing
- Winter Landscape Photography Tips
- Organising your photos
- Wedding Photo Ideas
How to scan old photos for printing
Create photo gifts, prints and keepsakes that will last a lifetimePrinting your old photos in a modern format is a lovely way to breathe new life into them. Whether you have monochrome photos from your grandparents’ wedding day, sepia-toned snaps from your parents' childhoods, or colour photos from a disposable camera, you can preserve them all for years to come. Digitising your old photos by scanning them and saving the files enables you to display and enjoy them without risking damaging the original photographs. And if this sounds daunting to you, don’t worry! We have compiled a step-by-step guide to scanning your old photos. Once you have those image files saved, you can print your photos into a stunning photo album or hang them on your walls as photo prints!
Choosing which photos to scan and print
The hardest part in revitalising your old photos is deciding which you would like to have in print. Our general rule is to take the opportunity to scan all the photos that you think either you or your family would like to have a record of. That way, you have them on file to share between your relatives, or to print at a later date. Only once you have scanned and saved your photos can you think about reprinting your favourites in a new format.
Whether your old photos are in colour or black and white, there are few things to bear in mind that will help you choose the best ones to print. Here are some of our suggestions:
Pick photos that spark memories
Perhaps a photo reminds you of the events of the day it was taken? Or maybe seeing a photo of a relative that is no longer with you lets you relive precious moments you spent together? The more meaning the photos hold for you, the better suited they are to printing.
Avoid images that are grainy or too dark
While digitising your photos gives you the option to then edit them using an app or photo editing software, doing so will undoubtedly affect the quality. If your original photos are grainy or taken in low light, they will also look dark or grainy when printed in a personalised photo album or modern wall prints. The best way to reprint these photos is in small format or to display them at a distance so that the lower quality is less apparent.
Enlarge your old photos with care
The level of detail in your original printed photos is going to stay the same, no matter how much you zoom in. So large prints of small old photos can appear blurry. To get the most out of your photo print, choose a format that has very similar dimensions to the original photo size.
Print previously unseen photos
Creating a photo gift for a family member or friend? Print the photos that they won’t have seen for years or perhaps have never seen before, along with a few of their favourites. Having a copy of those oldies but goldies in a stunning photo book or as wall prints will mean so much to your loved one, and they are sure to appreciate your thoughtfulness in putting it together for them.


How to digitise your old photos
The key step in transforming your old Polaroids and printed photos into digital files is scanning them. Most scanners can create 1200 DPI image files, meaning there are 1200 dots of ink per inch of photo – more than enough to produce high-quality photo prints. And even scans taken using your smartphone camera can be adjusted to a similar quality. For context, we recommend a resolution of 300 DPI for printing photos, and you can find out more about this in our guide to enlarging your photos for print. Just be aware that the quality of the original printed photographs will determine the quality of your reprints.
Scanning with a computer
Begin by adjusting your scanner settings to its highest DPI resolution. This is particularly important if you are looking to create a large photo print, since doubling the size requires double the resolution. Simply place the physical photograph into the scanner, scan it, then save the digital image file onto your computer. Backing up your photos using a cloud-based storage system or an online photo-sharing website like DropBox is a fantastic way to ensure that your (now digital) photos are never lost.
Scanning with a smartphone
While you can scan old photographs using your phone by simply taking a photo of them, photo scanning applications tend to have the edge. Google Photo Scan, for example, automatically removes any glare and detects the edges of the old photographs so you don’t have to crop the files later. Another app called Pic Scanner enables you to scan in batches. Whichever method you choose, your smartphone’s camera will be required. Centre the old photograph in the screen until it fills the frame, then focus the camera by tapping the middle of the screen. Glossy photos reflect light, so you will need to position the photograph out of direct or artificial light to reduce glare. Something else to watch out for is a shadow created by your body, so ensure that either the whole photo or none of the photo is in your shadow. It is always best to scan your old photos during daylight hours, otherwise there is a risk of the low light causing graininess in your digital photos.
Most phones automatically save photos at a low resolution such as 72 DPI, since this is optimal for viewing the photo on screen. Before printing your photos, we recommend uploading your photos to a computer then adjusting this setting to 300 DPI or higher. Read our guide to enlarging your photos for print for instructions on how to do so.
Give your old photos a new lease of life
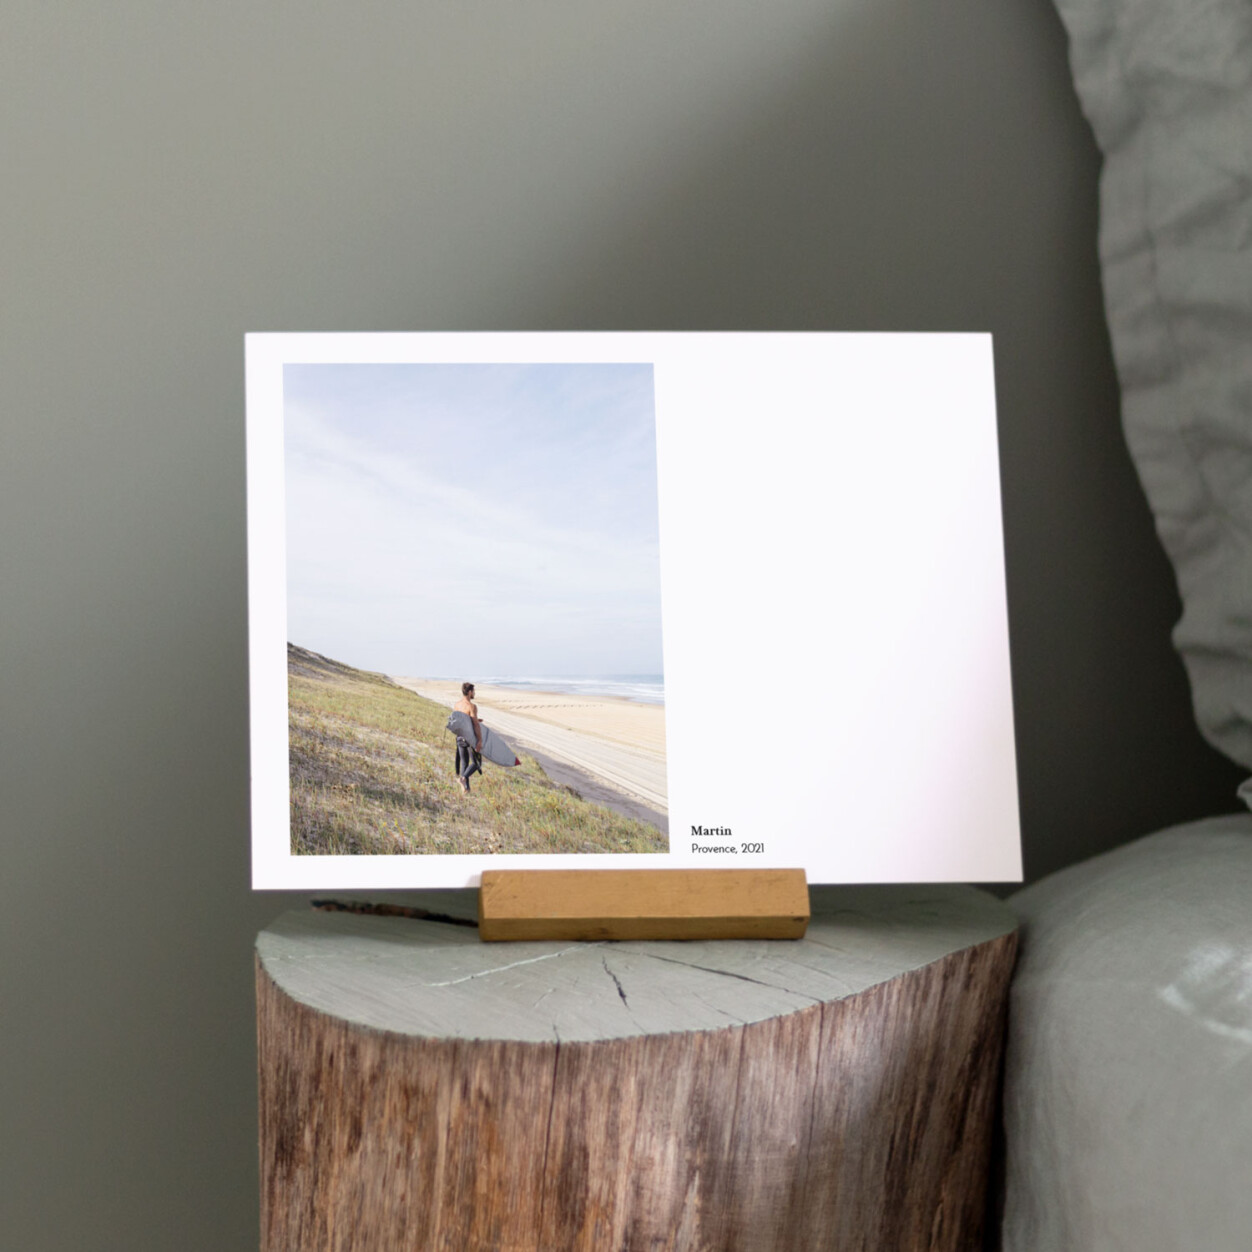
Now that your photos are safely saved in high definition on your hard drive, you can get creative in curating them. For those stand-out snapshots that you couldn’t ever get enough of, consider customising professional-looking photo prints to display on your walls, shelves, bookcases and coffee tables. To harmonise your photos from across the decades with each other as well as with your home décor, use a greyscale filter on all your images and print them in black and white. You can get more inspiration for this from our guide to printing black and white photos. We have a range of photo print sizes available so that you can choose the format that best showcases each individual photograph. And thanks to our range of print templates with single-photo, multi-photo and captioned layouts, you can even create prints of equal dimensions with photos of different sizes.
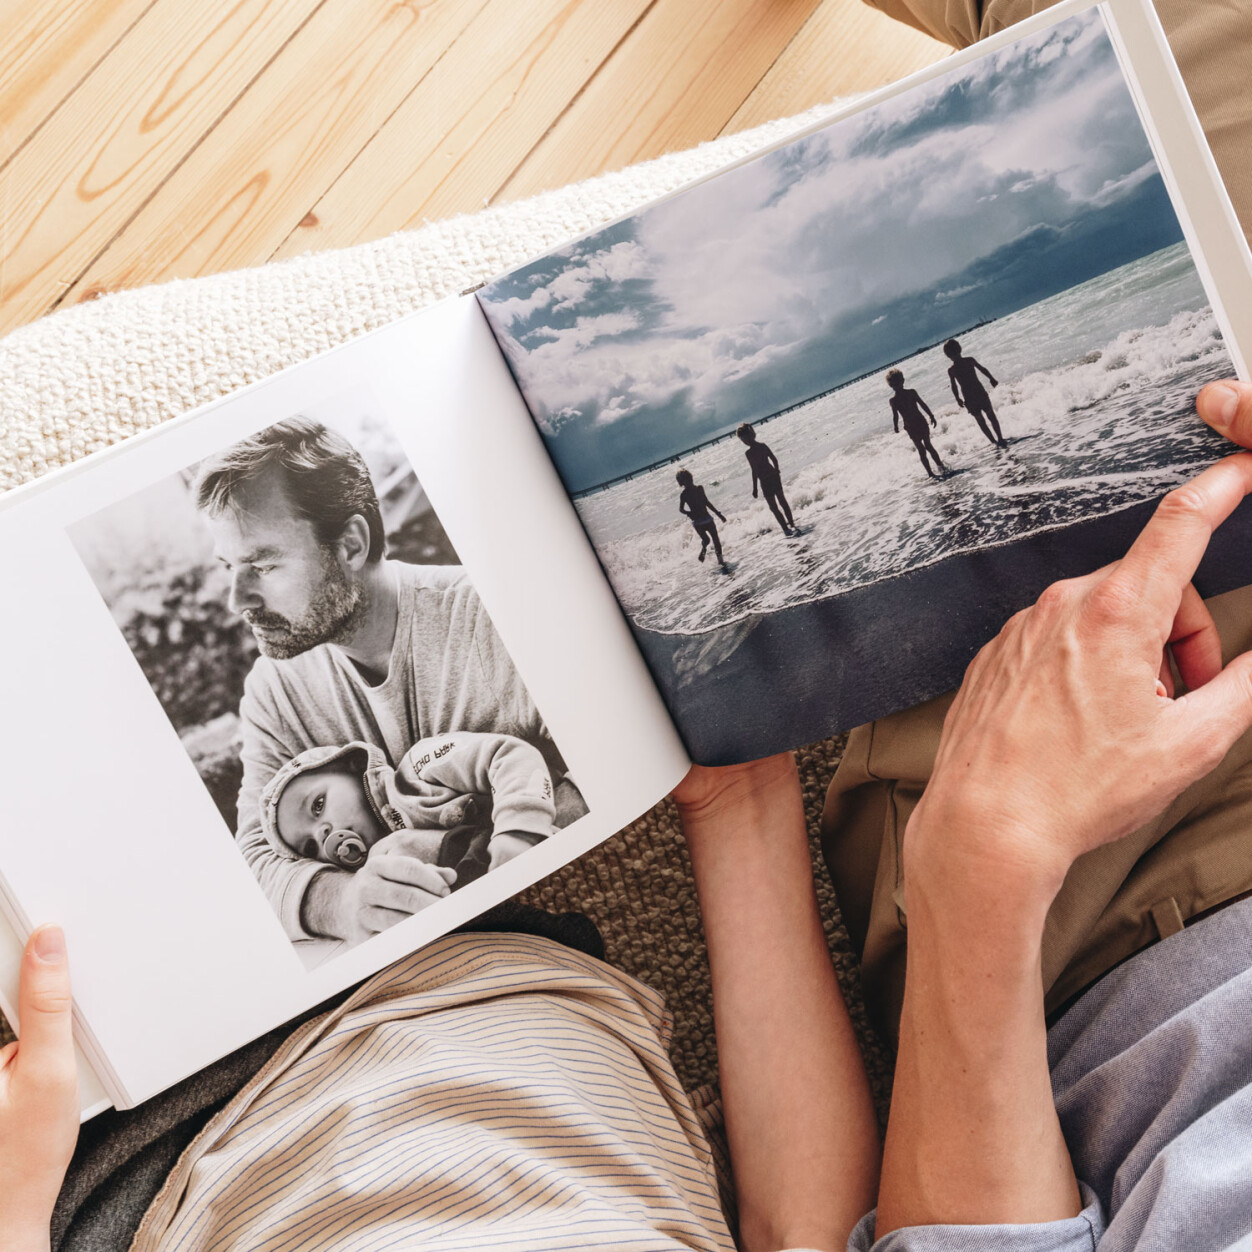
For all your other well-loved scanned photographs, a photo album is the best way to tell a story and keep them all together. We suggest opting for a hardback photo book such as these fabric, foil-stamped hardcover photo albums since they are luxurious to behold, lovely to hold and they will preserve your photos for longer. Gift boxes are available with this style of album to protect it from dust and sticky fingers! For a more cost-effective photo book that makes a lovely birthday gift or Secret Santa present, create a softcover photo album with the option of including a photo on the front. While we don’t encourage judging a book by its cover, your friends and family won’t be able to contain their excitement to flick through the pages of these premium photo albums! Choose the autofill function to save on time, or take a little longer to discover our templates and order your images chronologically.
If you would like to know more about our photo prints and photo albums, consult our photo album FAQ page or get in touch with our team.