- Photo Advice
- How to print photos from your phone
- Required Photo Quality
- Correct Format For Photos
- Print Quality Of Your Photos
- Advice For Your Baby Photos
- Wedding Thank You Card Photo Ideas
- Save the Date Photo Ideas
- Christmas Card Photo Ideas
- How to print black and white photos
- How to print baby photos
- How to enlarge photos for printing
- How to scan old photos for printing
- Winter Landscape Photography Tips
- Wedding Photo Ideas
- Organising your photos
How to enlarge photos for printing
A guide to creating large photo prints without losing qualityRelive your core memories by enlarging photos of them to display around your home. Perhaps your wedding photographer beautifully captured your nervous smile as you prepared to walk down the aisle? Or maybe you want to clearly see all your guests’ faces from the group photo taken on your birthday? The details make all the difference, and large photo prints are ideal for zooming in on them.
Yet without taking the correct steps, blowing up photos can actually have the opposite effect, making them appear grainy and low in quality. Thankfully, there are a few simple ways to solve the problem, and you don’t have to be tech savvy to do it either! We have created a beginner-friendly guide to optimising your images and choosing the best ones for your photo enlargements without compromising on quality.
Image quality and why it matters for photo prints
When we talk about the quality of a photo, we often refer to its resolution, which simply means how much detail the image holds. We measure the quality of digital images in megapixels (MP), and the good news is that you no longer need a hefty digital camera to take high-resolution photographs. Most smartphones now feature a 12+MP camera, meaning the images it creates hold 12 million tiny squares of information per inch! This is more than enough to take a crisp and focused photo that is perfect for printing.
So while the number of megapixels in your digital image is important, what really interests us when printing and enlarging a photo is its Dots Per Inch (DPI). This is quite literally how many dots of ink there will be per inch of image when your photo is printed. The standard for high-quality photo printing is 300 DPI, which will produce a sharp photo with well-blended colours. Photos with a lower DPI can appear blurry and less defined because there is more space between each speck of ink.
By default, most cameras and smartphones save your digital images at a lower DPI (e.g. 72 DPI) since that is the perfect resolution for displaying the image on screen. So, to make it fit for printing, we need to adjust the settings of your photo to increase the DPI to 300. We have outlined the easiest way to check the DPI of your photo and change it in the section ‘How to increase the DPI of your photo to 300+’.


Enlarge photos without losing quality
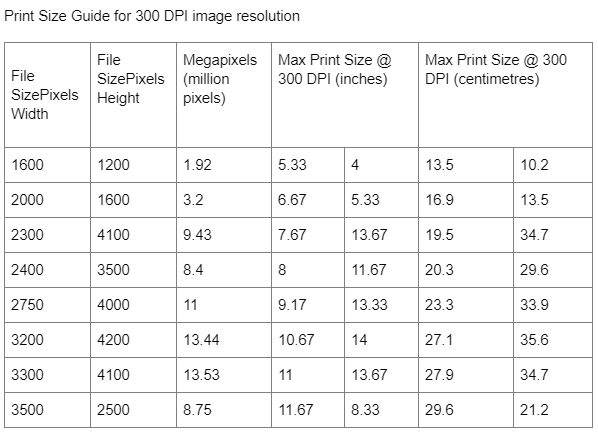
The chart below shows how big (in inches and centimetres) you can print a photo for a range of image file dimensions (in pixels) for it to maintain the resolution of 300 DPI. If you wish to enlarge a photo to double its listed maximum print size, you will need to double the DPI to 600 and resave the image. If you want to blow up a photo to 4 times its maximum size, you will need to quadruple the DPI to 1200, and so on.
Can’t see the pixel dimensions of your photo listed in the chart? You can calculate the maximum size yourself by simply dividing the pixel width of your photo by 300, and dividing the pixel height of your photo by 300. This will give you the maximum width and height in inches that you can print your photo at 300 DPI resolution.

How to increase the DPI of your photo to 300+
Step 1 – Check the DPI of your photo
The first step is to check the current DPI of the photos you would like to print and enlarge. To do this, you may find it easier to save your photos to your computer first. For Windows users, right click on the image file and open ‘Properties’. Under the ‘Details’ tab, you will find the DPI number and pixel dimensions. For Mac users, open the image with the Preview app and head to ‘Tools’. Click on ‘Show Inspector’, then go to ‘General Info’ to find the image information.
Step 2 – Adjust the DPI of your photo
The next step is to adjust the DPI. Apps such as GIMP and Adobe Photoshop have the functionality to do this, but an equally effective tool is a DPI conversion website such as https://convert.town/image-dpi. Select the DPI you require then click ‘Choose Image’ to upload your photo. Your computer will then automatically convert and download your photo with the DPI you selected. Remember: if you wish to enlarge your photo, you will want a DPI higher than 300. Look back at the chart to work out the maximum size you can currently print your photo at 300 DPI, then increase the DPI you select on the conversion website in line with how many times bigger you want to blow up your photo!
Step 3 – Upload your downloaded photos to print them online
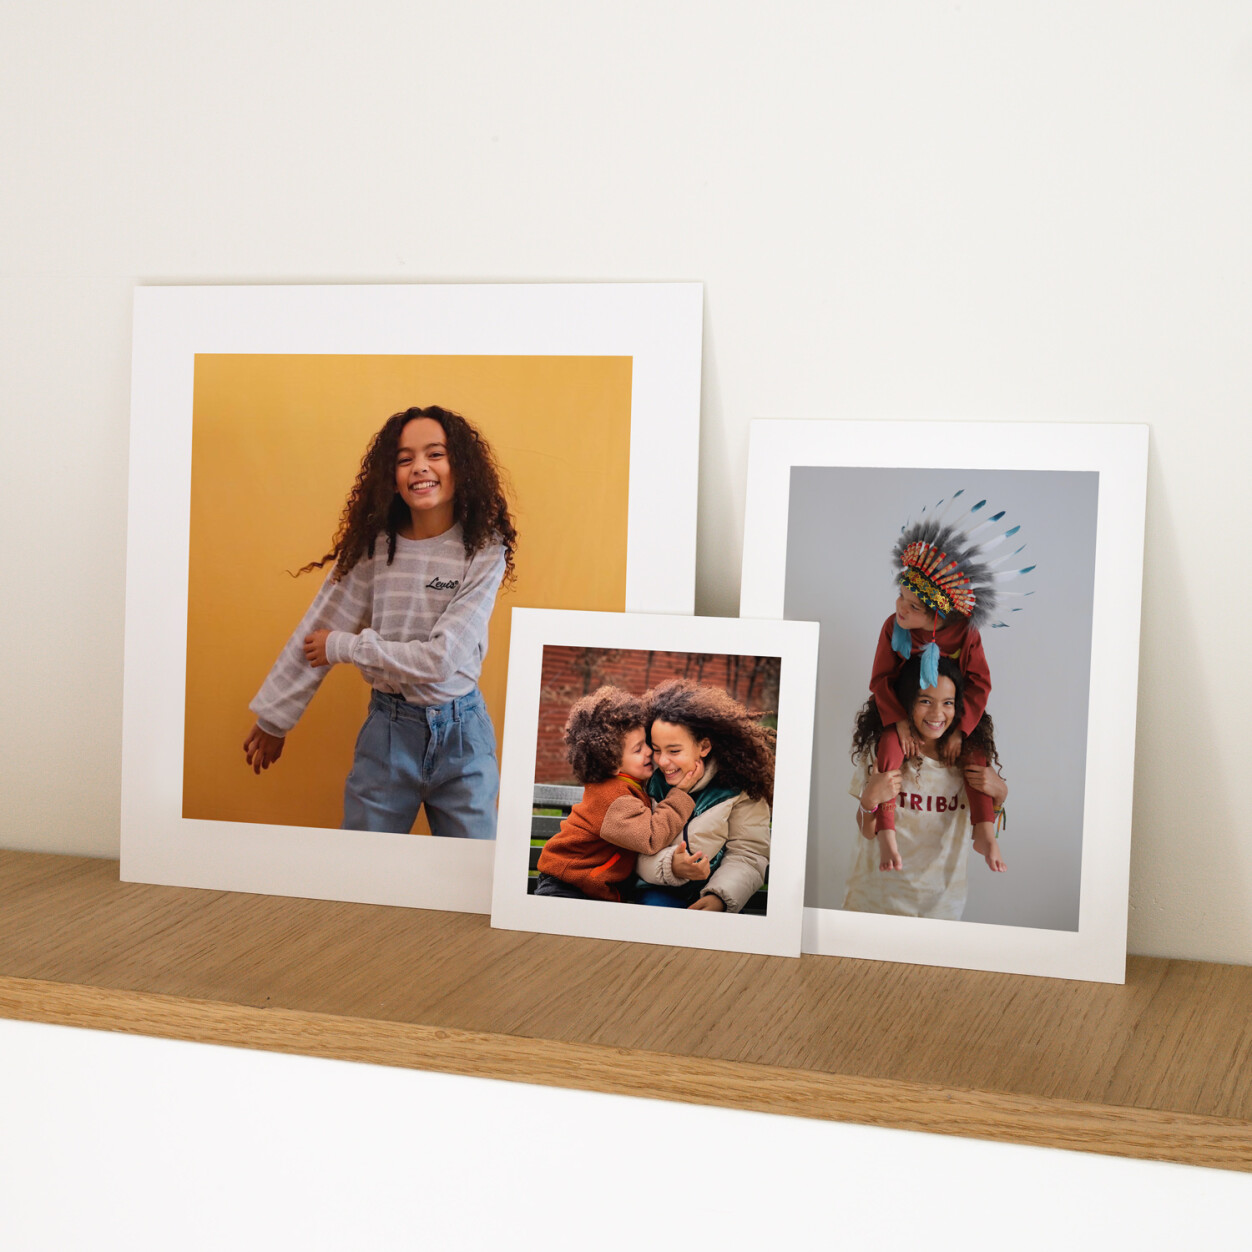
Now that your photos are the correct DPI for printing, you can print your photos online, choosing between premium photo prints that are ideal for framing and premium thick photo prints that can be propped up on shelves or displayed in photo holders.
Top tips on choosing which photos to enlarge
Image resolution aside, we have some final suggestions to help you choose the best photos for printing in large format to make your house feel like home.
Location, location, location!
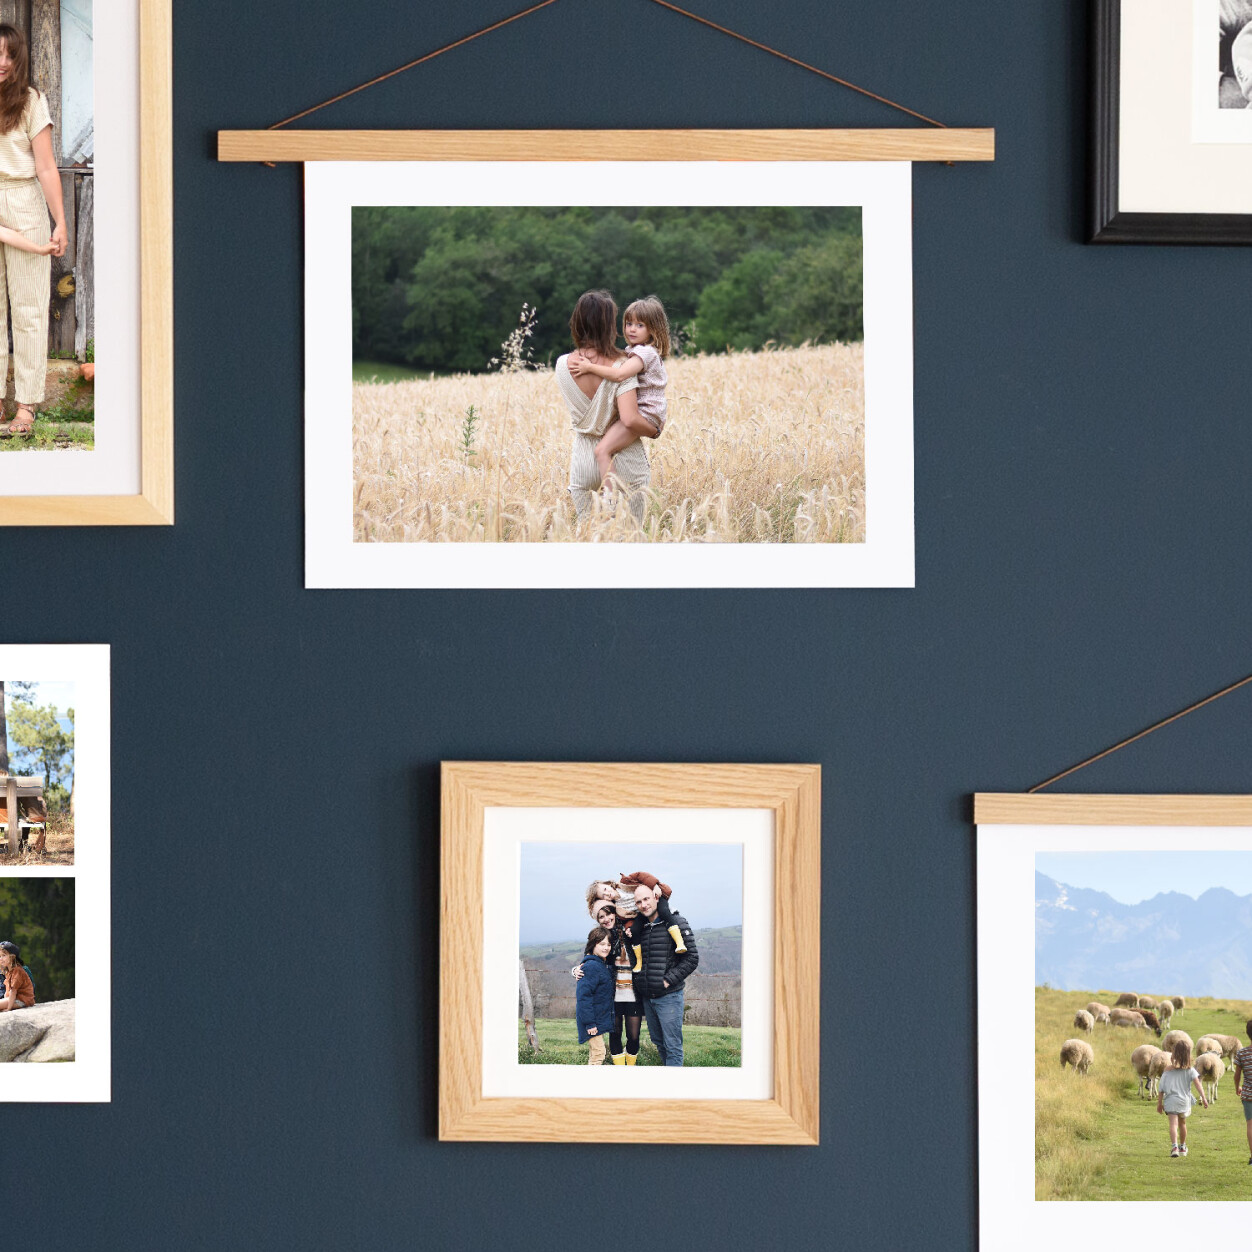
Where you hang or prop up your photos is going to determine the shape of your prints and how large they can be. So take a moment to walk around your home with a tape measure in hand, taking note of the size of print that will work in each area of empty space. We have a range of photo print sizes and shapes, each of which has a number of classic, gallery-style and minimalist layouts to choose from. You can even use a square photo to make a rectangular print by selecting the right layout, or you could accompany your photo with a few words to make it all-the-more meaningful.
Good lighting
Photos taken in daylight with the light shining onto the subject will always look higher in quality. By comparison, photos with bad lighting or where the subject is backlit risk appearing grainy, reddish or simply too dark in print. So if you are taking photos especially to have printed, it is worth waiting for a bright or sunny day. And what’s more, displaying a light and bright photograph is a lovely way to lift a dark room!
Avoid overcrowding
‘Busy’ photographs featuring lots of subjects and little empty space or one large subject filling the frame are best displayed with plenty of wall space around them, or alongside ‘quiet’, more minimalist photos. Likewise, if you have a room that is already highly decorated or filled with furniture and patterns, a simple, minimalist photo will suit the space more than a complex one. If there is a photo that you adore but it would introduce too many new colours to the room you have in mind, switching the photo to black and white could be the perfect solution. To do this when creating your Rosemood photo prints, click on the photo when it is in your print template, then click the filter icon to change the colours to black and white.
No filters, please!
As lovely as filters can make photos look on social media, the effect sadly isn’t the same in print. Filters reduce the quality of images and can make them appear grainy or even blurry in print. As mentioned above, the only exception to this is our built-in black and white filter that is a great fix for photos with clashing colours or too many red tones. Remove any filters on your photos before uploading them to your Rosemood account to create your photo enlargements.
Distance is your friend
The precise quality of a photograph only really matters if you are going to be seeing it up close. Take a few steps back from the print and suddenly the detail is only as good as your eyesight. So, if your favourite photo of all time is a scan of a low-quality Polaroid taken 30 years ago, there are two ways to display it where the quality isn’t an issue. Either print it in small format using a bordered layout to your advantage, or place the enlarged photo print in a place you will only see it from a distance. For example, the wall above your stairs is a fantastic spot for this, since you will pass the photo multiple times a day but always at a distance of a few metres.
If you have any queries about ordering your Rosemood photo prints or enlargements, get in touch with us and we will be happy to help.